June 24, 2015
7 Tips to Apply Nail Polish Like a Pro

Have you ever wondered why your nails always look so much better after a professional manicure than when you paint them at home? It all comes down to the right technique. Nail technicians know exactly how to care for the nails and apply polish, so the nails have a smooth, high gloss finish that lasts longer than the typical home manicure. If you want to know how to apply nail polish like a pro, follow our top tips from nail tech instructors in California.

1. START WITH THE RIGHT NAIL POLISH
When you pick out nail polish, don’t focus only on the color. Select high-quality brands that are featured in nail salons. Essie, OPI, and Sally Hansen are all go-to brands recommended by professionals that you can find in just about any beauty aisle. If your nail polish has been sitting on the shelf for a while, make sure that it’s still good to use on your nails. If nail polish has separated and doesn’t blend after a quick shake, throw it out and get a new bottle. Dried out nail polish will also give you uneven, blotchy results.
2. FILE AND BUFF YOUR NAILS
Start your manicure or pedicure off right with clean hands and nails. Use a file and buffer to shape and even out your nails. Move the nail file from the corner toward the center, moving in one direction. Remember–the nail file is not a saw. Do not drag it back and forth across your nails; it can splinter and damage your tips.
Buffing the nails is a step often missed in home manicures that can increase circulation to the nail beds and create a smoother surface to apply polish. However, when it’s done incorrectly, it can cause more harm than good. Most nail buffers have four different surfaces, each with varying grit. Starting with the roughest grit, hold the buffer at an angle against the nail surface and slide it towards the center of the nail. Use the same action on both sides of each nail, working from the base of the nail upwards and reducing the pressure as you reach the tip.
3. DON’T FORGET THE BASE AND TOP COAT OF THE NAILS
A professional nail technician doesn’t skip this step and neither should you! Residue and oils on your fingernails can cause polish to chip or peel, so you need a solid base. Base coats also help protect your nails and cuticles from common problems such as breaking, splitting, and peeling.
The top coat will lock in the color, prevent chipping, and add shine for a nicely polished look. For long lasting polish, choose a fast drying, shiny top coat so that you can be on your way without smudges.
4. USE A FINE TIP BRUSH TO CREATE A DEFINED OUTLINE AROUND YOUR NAIL CUTICLES
Dip a clean, fine tip brush in acetone polish remover and make an outline around the cuticle. This makes a big difference by repelling stray polish away from the skin for a salon quality look. After your polish is complete, apply an oil or lotion to add moisture back to your cuticles.
5. APPLY THE NAIL POLISH PERFECTLY AND WITH CARE
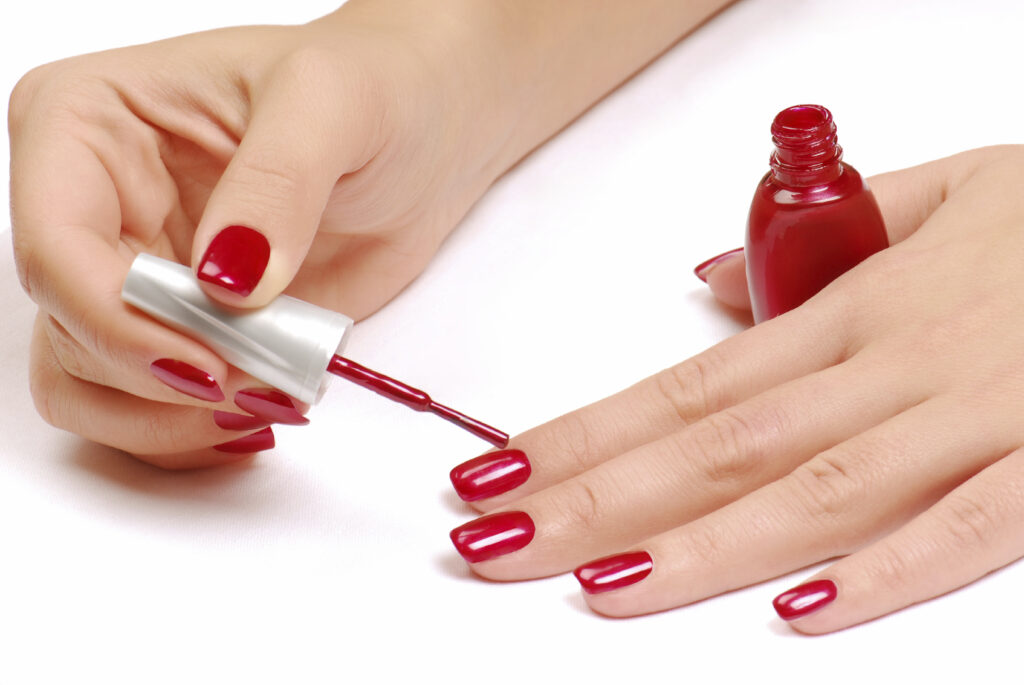
Before you even open the bottle of nail polish, roll it between your hands for 15-20 seconds. This will mix up the polish without creating bubbles, which can form an uneven coat on the nail. As you pull the brush out of the bottle, wipe one side clean and fan it out along the neck. Lightly tap excess polish from the other side of the brush. In one smooth motion, move the brush across the center of the nail, from cuticle to tip. Then, swipe it along the left and right side. This three stripe method will ensure that you get an even coat across the entire nail surface, without adding too much polish at once. Allow each coat to dry before adding the next. Apply one or two more coats to even it out and increase the richness of the color, and then finish with your top coat.
6. ROTATE YOUR DOMINANT HAND TO APPLY NAIL POLISH
One of the challenges when applying fingernail polish yourself is using your non-dominant hand. For example, if you’re a righty, then applying polish with your left hand can be especially difficult. Instead of relying on your weak left hand to do all the work, lay your right hand flat and rotate it as you move along the nails.
7. ALLOW FOR ADEQUATE DRYING TIME
In addition to drying each coat before applying another, you should let your nails dry completely after the final coat before carrying on with your day. Dry times will depend on the exact type of nail polish used and the number of coats applied, but typically, you’ll need at least 20 minutes of drying time for the color to set.
Do you want to become a professional nail technician? You can with the manicuring/nail technician training program from Salon Success Academy! We offer a variety of programs to prepare you for a career in the beauty industry, including cosmetology and esthetics. We have five convenient locations across the Inland Empire in California. Call (877) 987-4247 to learn more! If you simply want to book a great manicure at an affordable price, you can also visit any of our locations for services in our student salon.*
*All services performed by students under supervision of licensed instructors.

Leave a Reply